Day 2: Setting Up React Environment and Creating Your First Page
Welcome back! 🎉 In the previous blog, we learned why React is important and what we need before starting.
Today, we’ll setting up react environment, run our first React app, clean the extra files, and create a simple portfolio page.
By the end of this blog, you’ll already have your first React page running in the browser 🚀
Step 1: Install Node.js
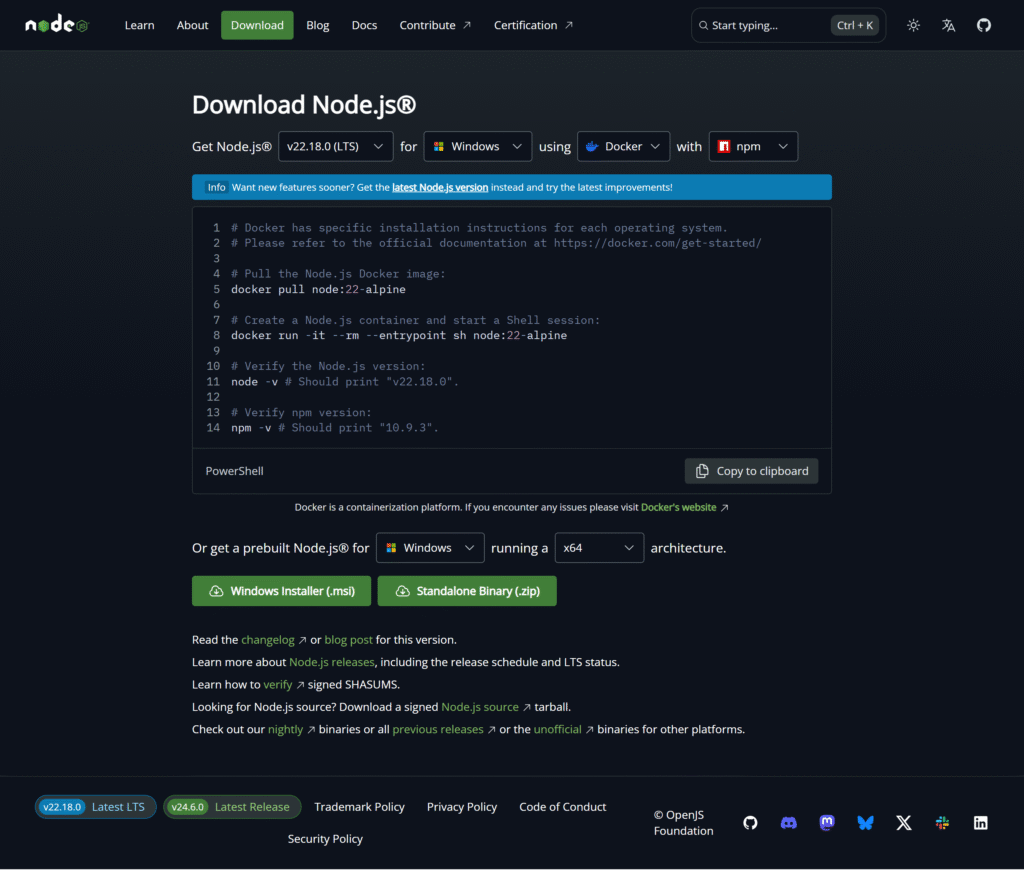
React apps run on Node.js.

- Download it from 👉 https://nodejs.org (LTS version).
- After installing, open your terminal/command prompt and check versions:
node -v
npm -vIf you see version numbers, Node.js is installed successfully ✅
Step 2: Install VS Code (Code Editor)
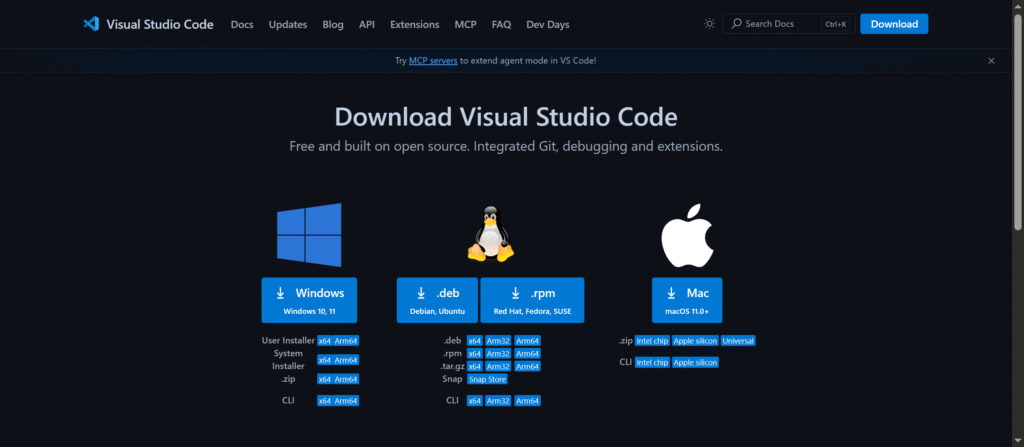
We need a good editor. The most popular choice is Visual Studio Code.
👉 Download from https://code.visualstudio.com.

Recommended VS Code Extensions:
- ES7+ React/Redux snippets → write React code faster
- Prettier → auto-format code
- React Developer Tools (Chrome extension) → inspect React apps in browser
Step 3: Create Your First React App (with Vite)
Instead of the old Create React App (CRA), we’ll use Vite because it’s faster and modern.
Run these commands in terminal:
# Create a new project
npm create vite@latest my-app

# Go inside project folder
cd my-app

# Install dependencies
npm install

# Start development server
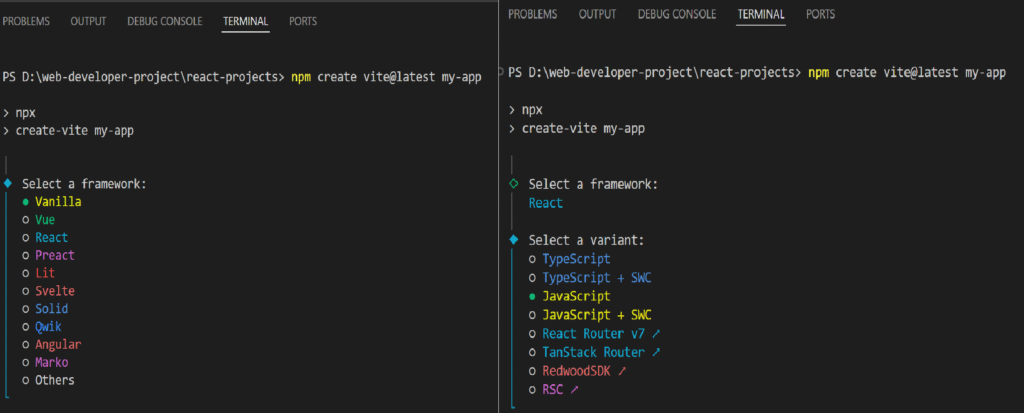
npm run devWhen you run first command, you will see this in the terminal, choose React and JavaScript

Run next command and Now open the link it shows (something like http://localhost:5173/) in your browser. 🎉 You’ll see the default React + Vite welcome screen.
Step 4: Clean Unnecessary Files
By default, Vite gives extra files we don’t need. Let’s clean them:
Inside src/, delete:
App.cssindex.cssassets/folder
Now open App.jsx and remove the default content. Replace with:
function App() {
  return (
    <div>
      <h1>Hello React World!</h1>
    </div>
  );
}

export default App;This gives us a clean, fresh start. Now go to browser and check the Page: Hello React World!
Step 5: Create Your First Portfolio Page
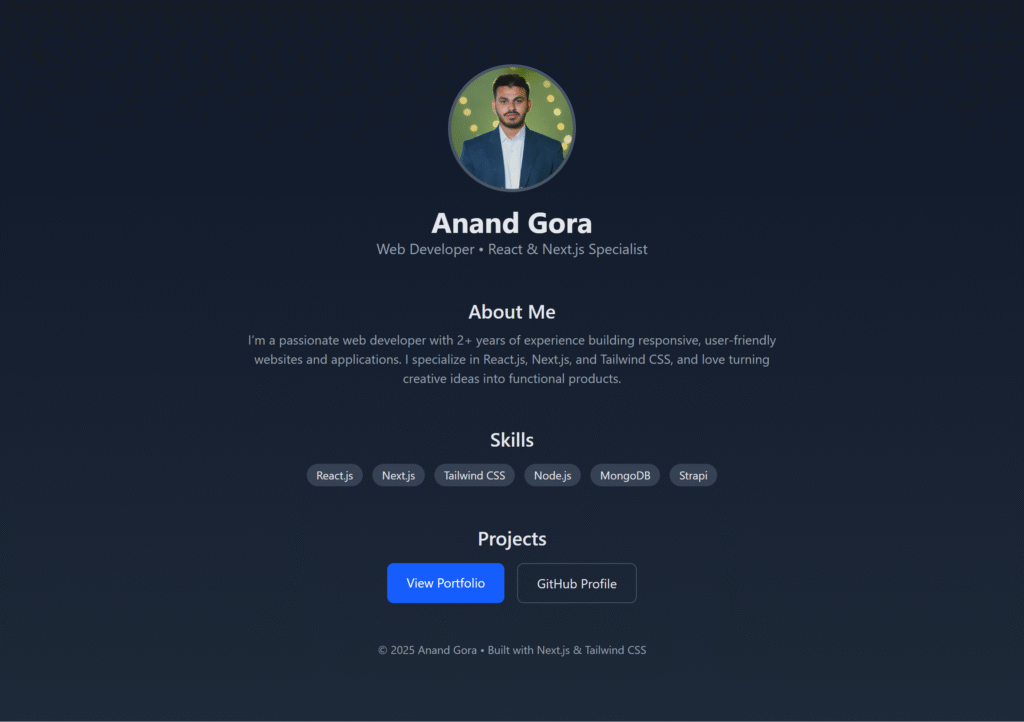
Let’s make something real — a portfolio page.
We’ll style our portfolio using Tailwind CSS.
👉 Official Docs: Tailwind Installation with Vite
Run this command:
npm install tailwindcss @tailwindcss/viteAdd the @tailwindcss/vite plugin to your Vite configuration. Edit tailwind.config.js:
import { defineConfig } from 'vite'
import react from '@vitejs/plugin-react'
import tailwindcss from '@tailwindcss/vite'

export default defineConfig({
  plugins: [react(), tailwindcss()],
})Create index.css file in src folder and add an @import to your CSS file that imports Tailwind CSS.
@import "tailwindcss";Edit your App.jsx to look like this:
function App() {
  return (
    <div className="font-sans min-h-screen p-8 sm:p-20 bg-gradient-to-b from-gray-50 to-gray-100 dark:from-gray-900 dark:to-gray-800 text-gray-800 dark:text-gray-200">
      <main className="flex flex-col items-center gap-12">
        {/* Profile Section */}
        <div className="flex flex-col items-center text-center">
          <img
            src="/profile.jpg"
            alt="Profile Picture"
            className="rounded-full border-4 border-gray-300 dark:border-gray-600 w-32 h-32 sm:w-40 sm:h-40 object-cover"
          />
          <h1 className="text-3xl sm:text-4xl font-bold mt-4">Anand Gora</h1>
          <p className="text-lg text-gray-600 dark:text-gray-400">
            Web Developer • React & Next.js Specialist
          </p>
        </div>

        {/* About Section */}
        <section className="max-w-2xl text-center">
          <h2 className="text-2xl font-semibold mb-2">About Me</h2>
          <p className="text-gray-600 dark:text-gray-400">
            I’m a passionate web developer with 2+ years of experience building
            responsive, user-friendly websites and applications. I specialize
            in React.js, Next.js, and Tailwind CSS, and love turning creative
            ideas into functional products.
          </p>
        </section>

        {/* Skills Section */}
        <section className="max-w-2xl text-center">
          <h2 className="text-2xl font-semibold mb-2">Skills</h2>
          <div className="flex flex-wrap justify-center gap-3 mt-4">
            {["React.js", "Next.js", "Tailwind CSS", "Node.js", "MongoDB", "Strapi"].map(
              (skill) => (
                <span
                  key={skill}
                  className="bg-gray-200 dark:bg-gray-700 px-3 py-1 rounded-full text-sm"
                >
                  {skill}
                </span>
              )
            )}
          </div>
        </section>

        {/* Projects Section */}
        <section className="max-w-2xl text-center">
          <h2 className="text-2xl font-semibold mb-4">Projects</h2>
          <div className="flex flex-col sm:flex-row gap-4 justify-center">
            <a
              href="#"
              className="px-6 py-3 rounded-lg bg-blue-600 text-white hover:bg-blue-700 transition"
            >
              View Portfolio
            </a>
            <a
              href="#"
              className="px-6 py-3 rounded-lg border border-gray-400 dark:border-gray-600 hover:bg-gray-200 dark:hover:bg-gray-700 transition"
            >
              GitHub Profile
            </a>
          </div>
        </section>
      </main>

      {/* Footer */}
      <footer className="mt-12 text-center text-sm text-gray-500 dark:text-gray-400">
        © {new Date().getFullYear()} Anand Gora • Built with Vite+React & Tailwind CSS
      </footer>
    </div>
  );
}

export default App;
Now, refresh your browser — boom! 🎉 You’ve just built your first portfolio page in React.

Conclusion
That’s it for Day 2! 👏
- You installed Node.js and VS Code.
- You created your first React app with Vite.
- You cleaned extra files.
- You learn to setup Tailwind CSS
- You built your first Portfolio page in React.
Tomorrow, we’ll dive into JSX, the special syntax that makes React so powerful.
👉 Stay consistent — React is best learned step by step.

